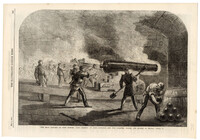
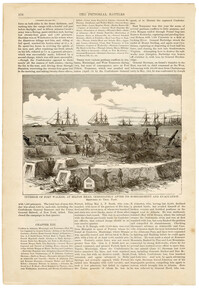
A newspaper sketch of the Battle of Fort Sumter. The illustration reads 'The main battery at Fort Sumter guns bearing on Fort Moultrie and the channel during the action of April 12.'
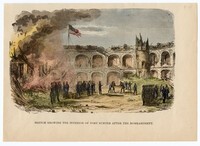
A sketch of Fort Sumter after the bombardment. Soldiers are shown standing and moving material as a fire burns in the background. On the verso is a partial sketch entitled 'A Scene on the Potomac River- Part of a Gunboat Fortilla.'
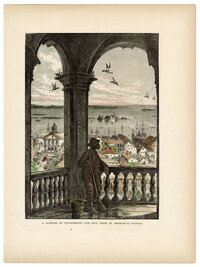
Second color sketch showing the bombardment of Charleston from Fort Moultrie. Soldiers are shown firing cannons and waving the "Stars and Bars," the official flag of the Confederacy, as a man lays under a pole. In the background, there is Fort Sumter and several warships.
Color sketch showing the bombardment of Charleston from Fort Moultrie. Soldiers are shown firing cannons and waving the "Stars and Bars," the official flag of the Confederacy, as a man lays under a pole. In the background, there is Fort Sumter and several warships.
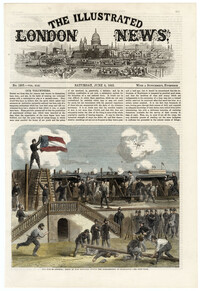
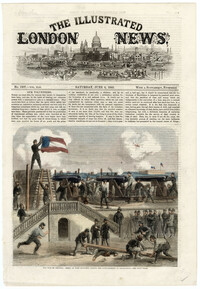
The illustration on the front page is captioned 'Interior of Fort Walker, at Hilton Head, immediately after its bombardment and evacuation'. The damage to the fort is in the foreground while in the background, sailing ships with small rowboats can be seen. On the verso are more illustrations. The top picture is captioned "Banks division crossing the Potomac previous to the Battle of Ball's Bluff." The left picture is captioned "Sinking of the peerless in a gale and rescue of the crew." The right illustration is captioned "Perilous position of a transport." The bottom picture is captioned "Capture of the steamer 'Fanny' by three Confederate steamers off Chicamicomica, N.C."
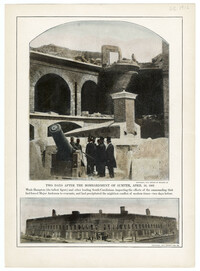
A color photograph captioned 'Two days after the bombardment of Sumter, April 16, 1861.' In the photo Wade Hampton and other figures look at the damage. Below the photo is another photograph showing Fort Sumter before the bombardment.
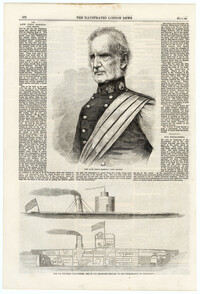
A newspaper clipping with an illustration entitled 'The U.S. gun-boat Weehawken, one of the ironclads engaged in the bombardment of Charleston.' The illustration shows what the monitor, a well-armed warship, looks like in the water. It also includes a cross cut diagram of the Weehawken's interior. The top illustration is a portrait of Field Marshal Lord Seaton.
Various illustrations of forts during the Civil War in Charleston. Captions of illustration, top row, left to right: 'View of terre-plein of the gorge of Fort Sumter', 'Parade of Fort Moultrie', 'North Western Angle of Fort Moultrie.' Captions of illustrations, middle row, left to right: 'View of terre-plein and parapet of eastern flank of Fort Sumter,' 'Barracks on north face of parade, Fort Moultrie,' 'South-western angle of Fort Moultrie.' Captions of illustrations, bottom row, left to right: 'Officers quarters, eastern portion of parade, Fort Moultrie', Western barracks, Fort Moultrie,' 'Channel face and south-western angle of the ramparts of Fort Moultrie.'